- Where to buy a laser level profitably and reliably?
- Technical parameters
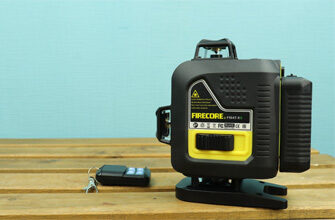
- Housing Firecore FIR-GL8-EA
- Compensator
- How to control the laser level
- How to use additional modes?
- How to make electronic calibration of the pendulum
- The algorithm for setting the position of the plane along the axis “X”
- Plane adjustment on the “Y” axis”
- Checking for accuracy
- The thickness of the laser line at different distances
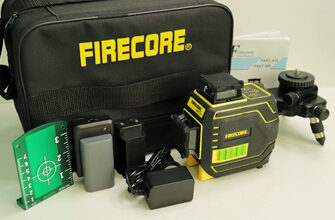
- Delivery set Firecore FIR-GL8-EA
- Pros and cons
- Video review of Firecore FIR-GL8-EA
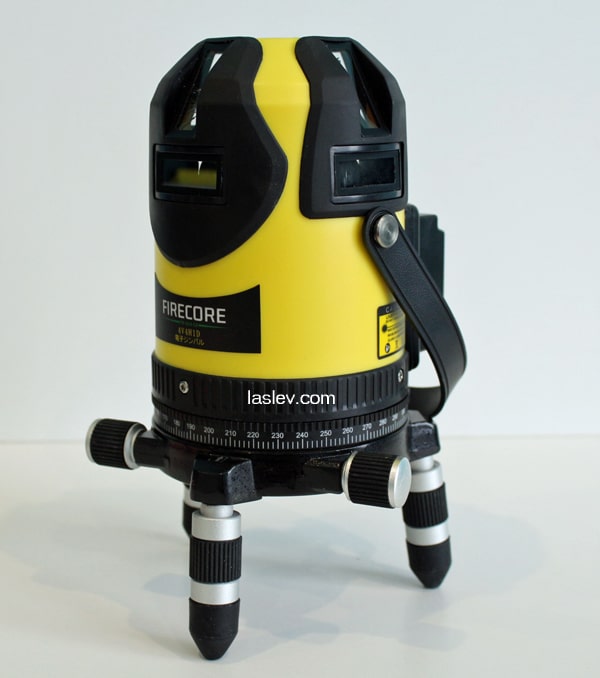
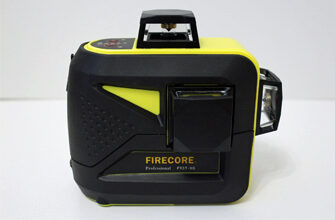
Professional, high-precision green laser level with electronic compensator FIRECORE FIR-GL8-EA (4V4H1D). From the abbreviated optical scheme described in parentheses, it is clear that the level projects the horizon at 360°, four vertical planes and a laser plumb line.
This, without exaggeration, high-quality in all senses of the device, is 2 times cheaper than its counterparts (with a red beam!), and it is delivered immediately with the receiver in the kit! For comfortable work outside in Sunny weather.
This model has a strong competitor at the same price, the Huepar DT03CG laser level only with cone prisms, which in my opinion is a plus.
Also in the review we will analyze the hidden features of this model, which no one even knows about.
Where to buy a laser level profitably and reliably?
Technical parameters
- Accuracy: ± 0.2 mm per meter (± 2mm / 10m) (much more accurate in reality!)
- Working distance without receiver: 25 m (* depending on the degree of illumination)
- Distance with receiver: 100 m (in diameter)
- Compensator working range: ± 4 °
- Laser class and wavelength: ≤ 1mW, class II, 515 nm ± 10 nm, plumb point 650 nm
- Dust and moisture protection: IP54
- Power supply: Li-ion battery 2700 mAh 7.4V
- Working time: 5 hours on one charge (all planes)
- Working temperature: from 0 ° С … + 45 ° С
- Case dimensions: Ø130 mm x H230 mm
- Device weight: 1525 grams
- Minimum distance from horizon:
- to the floor – 17.5 cm
- to the ceiling – 5 cm
- Distance from vertical to wall: 7.2 cm
Housing Firecore FIR-GL8-EA
As always, the Firecore laser levels have the highest build quality. The FIR-GL8-EA model is no exception. All interfacing parts are made with high precision, and the case itself is made of high-quality materials.
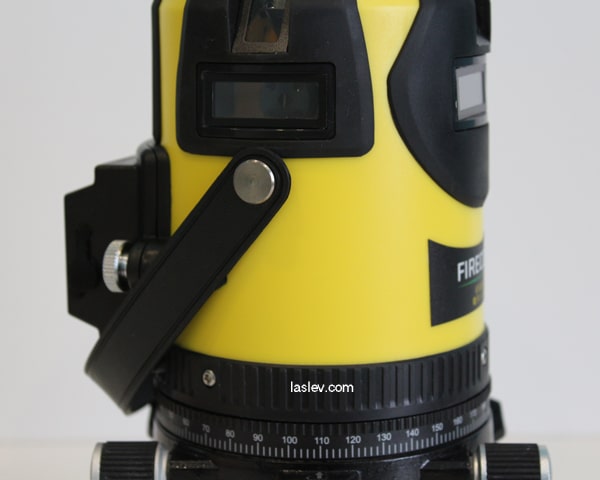
On the back of the case, the lithium – ion battery is securely attached to a powerful pressure screw. Which can be charged either separately or in operation. This is how network operation is implemented.

The metal smooth rotary limb is equipped with a calibration scale in 2-degree increments. The scale itself can move relative to the body, which makes it easy to set “zero” on the point to further delay the horizontal angle.
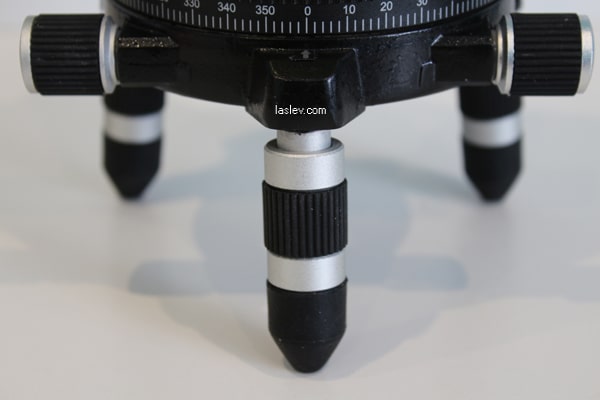
Also, the rotary limb is equipped with a micrometer infinite screw for precise adjustment when pointing at the desired point. Moreover, it is worth noting that the micro-screw has an excellent response, and does not have scrolls when reversing.

The micro-screw handles and trigger legs have pleasant-to-touch rubber pads for better grip.
You should also note the rubber tips, which just behave perfectly when installed on slippery surfaces. Plus, they eliminate scratching whimsical flooring.
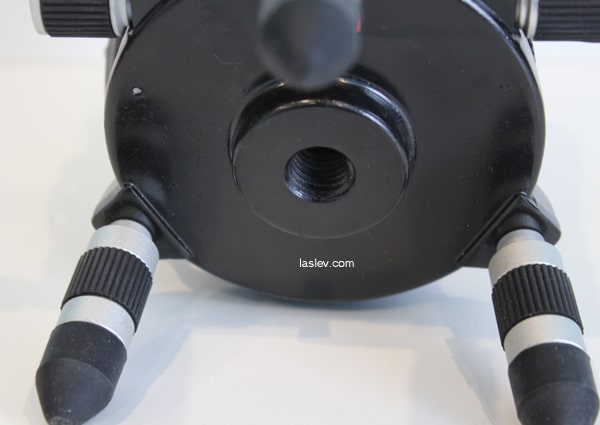
The base of the device has a standard 5/8 ” thread for mounting on various tripods or rods.
Compensator
The FIRECORE FIR-GL8-EA laser level is equipped with a precise electronic compensator on servo drives, which has a working range of ± 4 ° in all directions. That is, it will compensate for this slope and set the exact level.
If the tilt of the device is more than 4 degrees, the visual alarm in the form of rapidly flashing laser lines is automatically activated. To disable it, simply level the level with your feet or place it on a flatter surface.
The electronic compensator is a stable and reliable mechanism, it is not inferior to the mechanical pendulum compensator, but on the contrary has a number of advantages.

First, it is somewhat more accurate. Since the installation is carried out by means of built-in tilt sensors (inclinometers). But here you can note a small minus: installation can take up to 17 seconds from the extreme position of the servos.
Secondly, it perfectly copes with small vibrations on construction sites. Here, the electronic compensator on servos has no equal.
Third, there is no micro-pumping (small twitches). Which are present in almost all laser levels with a mechanical compensator.
There is another interesting distinguishing feature of electronic compensators over mechanical ones, this is the ability to set a certain slope along the “X” and “Y” axes, as you can see below.
How to control the laser level
The FIRECORE FIR-GL8-EA laser level does not have the usual toggle switch. As in principle with all other laser levels with an electronic alignment system.
Here stepper motors play the role of permanent blocking of the pendulum.
All control is done with a 5-button keyboard on top.
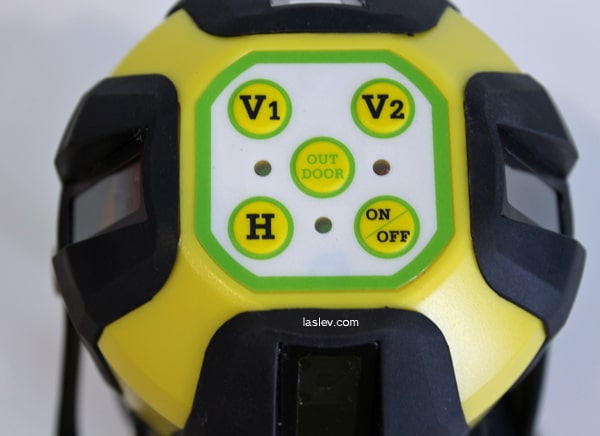
The device is turned on by the corresponding “ON/OFF” button. Immediately lights up the first half of the horizon, that is, the front and side window of the four possible.
The red indicator above the button also lights up and the indicator to the left of the button flashes green. Its blinking indicates the installation process. As soon as it stops flashing, it means that the level is set and everything is ready to work.
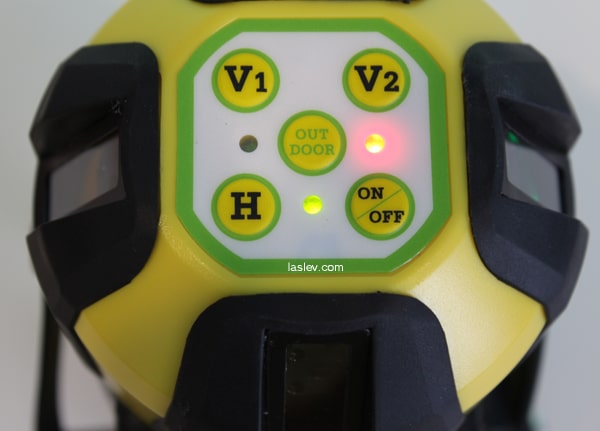
When you press the “H” button, the second half of the horizontal plane lights up, thus projecting a closed line around the entire perimeter without breaks.
Pressing the “V1” button simultaneously activates the front and back vertical. Also forming a single plane equal to almost 360 degrees. It does not connect only directly under the device. 20 centimeters at each end.
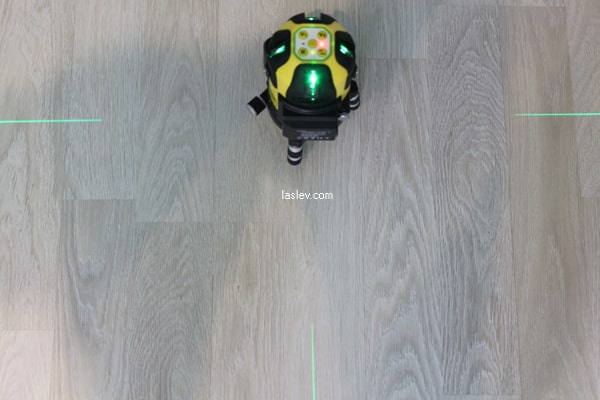
The “V2” button includes two more vertical emitters on the sides. Thus, the second vertical with the same sweep as the first one lights up.
When any vertical is enabled, the plumb line point is automatically projected downwards. To get a plumb point, you need to include all the verticals that intersect on the ceiling at an angle of 90°. It is this crosshair that will be the Zenith. (the point of the plumb up)
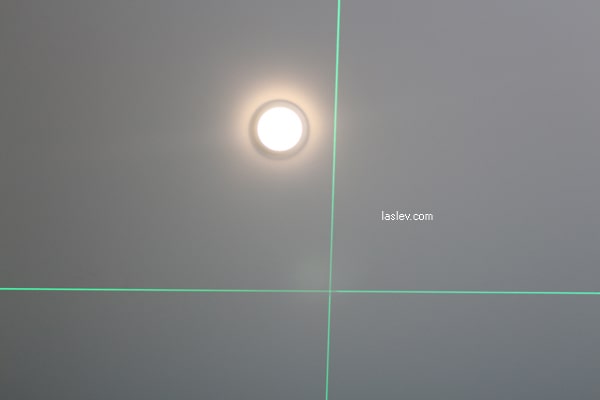
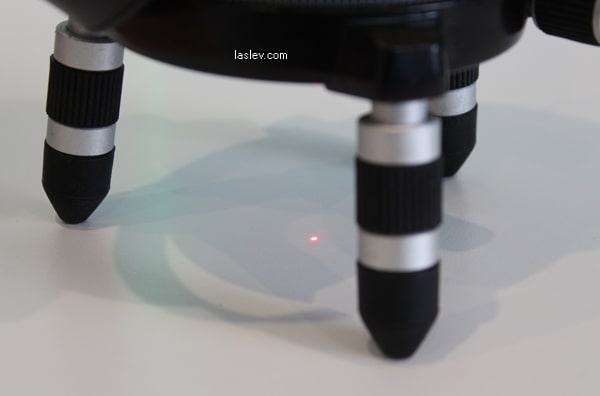
The Central “OUTDOOR” button activates the receiver mode. Which is included in the package.
When you press this button, the corresponding green indicator will light up on the left, and the laser lines will decrease the intensity of the glow.
Thus, a certain pulsating mode is activated. In this mode, the receiver picks up and indicates the location of the beam. When working outside, the beam is not visible, especially in Sunny weather. But the receiver still sees it.
How to use additional modes?
The FIRECORE FIR-GL8-EA laser level has a function that is not available for levels with a mechanical pendulum compensator. We are talking about setting a certain angle on the “X” and “Y” axes.
To use this function, you need to switch to “tilt mode”. To do this, turn on the device with the “ON/OFF” button, then be sure to select the desired number of planes (since other planes will not turn on after activation) and hold the “H” button for about 5 seconds until the green diode to the right of the “H” button starts flashing very quickly.
After activation, you can set any arbitrary angle manually or set the slope along the “X” axis using the “V1” and “V2” buttons within 4°.
To set the slope along the “Y” axis, you need to briefly press the “H” button, while the green indicator will flash at a different frequency-more slowly. Now, within the same four degrees, you can use the “V1” and “V2” buttons to set the slope along the “Y”axis.
In this mode, the laser lines will flash once every 5 seconds, a kind of reminder that you are in a special mode. To exit this mode, simply turn the level off and on again.
How to make electronic calibration of the pendulum
The level provides electronic adjustment of the pendulum. The process is quite easy, you just need to know the desired combination of buttons. Thanks to which you can bring the installation accuracy to almost zero!
The algorithm for setting the position of the plane along the axis “X”
Setting the position is best done at a distance of 10 meters or more. Since the calibration step is very small. Approximately 20 clicks of the button causes the line to shift by 1 mm at a distance of 10 meters.
And so…
- Turn on the instrument and turn on the full 360°horizon.
- Hold down the “ON/OFF” button for about 5 seconds or until the red led on top starts flashing rapidly. That’s it – you are in calibration mode, and now the front and back of the plane will be adjusted along the “X”axis.
- use the “V1” and “V2” Buttons to adjust the position of the plane up and down. 20 clicks on the button, equal to raising or lowering the plane by 1 mm, at the marked point at 10 meters.

All. When the plane on the “X” axis is configured, that is, the front and back of the plane pass through one point at a distance of 10 meters. Then go to setting the position of the plane on the “Y” axis.
Plane adjustment on the “Y” axis”
- After setting the “X” axis, without turning off the device, briefly press the “H” button. The green indicator to the right of the “H” button is now blinking rapidly. This means that the setting is now on the “Y” axis.
- Use the “V1” and “V2” Buttons to adjust the position of the plane, similar to the 3 point above.
Attention! The main thing is not to forget to fix the result, otherwise after turning off the device, it will return to its original values. To fix it, hold down and hold the “ON/OFF” button until the diode on the top is constantly red (the green diode on the left will also flash), that is, the device will switch to standard operating mode.

Checking for accuracy
Initially, the leveling error was about 2 mm by 10 m. And even this accuracy was twice as high as the stated ± 2 mm / 10 m. See here how the error is calculated correctly.
But there is also electronic alignment, and it is simply a sin not to use it for even more accurate results.
After a short and simple manipulation, the error was reduced to a minimum. And was less than one millimeter by 10 meters. That is, in fact, they can mark a distance of 20 meters with an error of less than 1 millimeter! And this corresponds to an error of 0.05 mm per 1 meter! Agree it is worthy.
How all sides of the plane pass relative to the first point at 10 meters, see the photo below.

The thickness of the laser line at different distances
Sharp emitters in tandem with cylindrical prisms give excellent results over the entire working distance. However, you can see it yourself from the tests.
And so, at 1 meter from the wall, the beam thickness was no more than 2 mm.

At a distance of 5 meters, only 1.5 millimeters.

And at a distance of 10 meters, no more than 2.5 millimeters, very worthy!
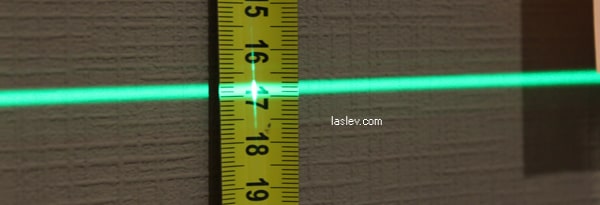
Delivery set Firecore FIR-GL8-EA
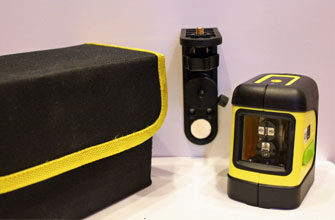
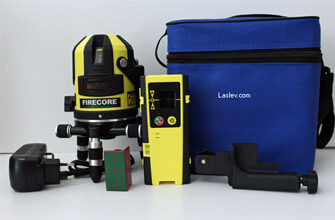
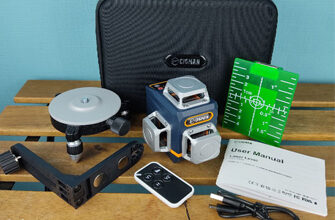
The laser level is delivered in a fairly powerful case with thick walls, which fits: the level itself, a charger, a plastic target, green glasses, a receiver with a rail mount and instructions in Japanese.

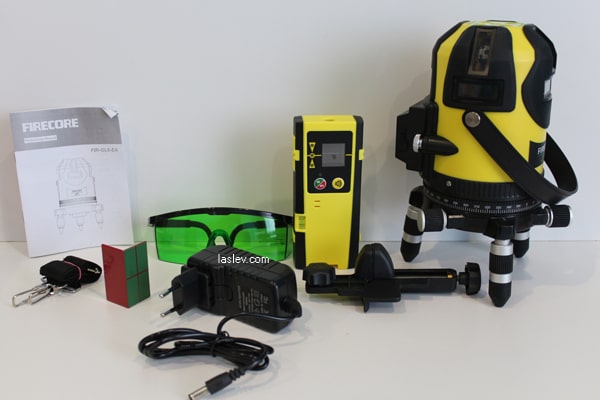
We will not consider the laser radiation receiver separately. Everything is simple there-turn it on/off. More information about it can be found in the video below.
Pros and cons
Best price !, receiver included !, easy pendulum calibration, vibration-resistant, high build quality, high-precision electronic installation, separate switching of all planes, mains operation, receiver operation, tilting operation, ability to set the slope along the axes ” X “and” Y “, bright and clear green lines, a full-fledged laser plummet, almost all planes of 360 °, a rotary dial with graduation and a smooth micrometric screw with excellent response, rubber heels on the legs, a carrying handle.
no possibility to run on batteries, heavy weight.

Dear Sir,
What is the micro-pumping!
“First, it is somewhat more accurate. Since the installation is carried out by means of built-in tilt sensors (inclinometers). But here you can note a small minus: installation can take up to 17 seconds from the extreme position of the servos.
Secondly, it perfectly copes with small vibrations on construction sites. Here, the electronic compensator on servos has no equal.
Third, there is no micro-pumping. Which are present in almost all laser levels with a mechanical compensator.”
Hi! Small twitches. All laser levels with a magnetic compensator have such small twitches to varying degrees. Laser levels with an electronic compensator have no such effect at all – this is one of the advantages.