Sooner or later, each user of the laser level, there is a need to carry out the marking outdoors in daylight. This can be in the process of any construction on a country land plot when working with landscape design or when building a garage.
And so you turn on the laser level on the street in the sunlight, and with annoyance you find that the beam is completely invisible at 5 meters. And it does not matter at all whether you have an expensive or cheap laser level in your hands.
The fact is that sunlight or daylight is the most destructive for a laser of this class. Yes, you can say: “Why not put a more powerful laser, so that the laser beam can be seen in daylight?». I answer: no, you can not, because it is extremely dangerous, first of all for the eyes of other people. You can easily get a serious retinal burn.
But there are several ways to solve the problem of visibility of the laser beam in daylight. Let’s look at the five main ways.
How to use the laser level outdoors
The first method. Working with the receiver
Most laser levels have a button, often called “Outdoor”. Which puts the device in a special pulsing mode, in which the laser lines become dimmer.
It is this function that allows you to work with the laser level on the street during the day in sunny weather.
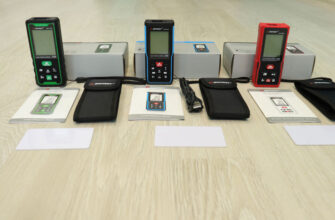
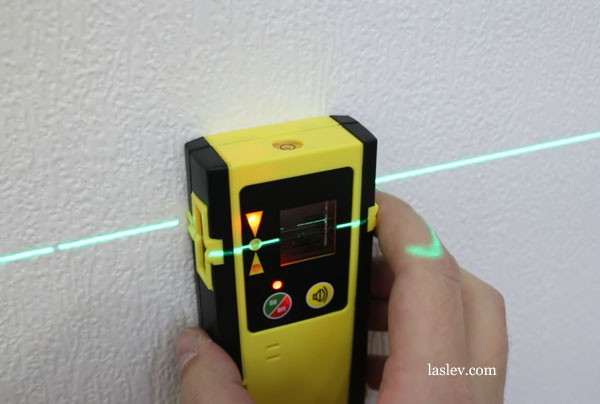
The laser beam receiver – is a small electronic device mounted on a geodesic rail. They come in different sizes, designs, with or without a display. As a rule, they are not included, so you need to buy them separately.
The receiver of one manufacturer may not be compatible with the laser level of another manufacturer. But this is not always the case, so you can experimentally pick up a receiver from another manufacturer.
If we talk about rotary laser levelers such as Topcon RL-H5A, then with such devices, receivers are always included.
The receiver has a special built-in photocell that captures the laser beam and shows its location with a visual and audible signal. You can’t see the laser line at this moment.
The range of operation with the receiver for each laser level (which has this function) is different, from 30 to 100 meters in radius! See the technical specifications in the laser level reviews.
But what to do if there is no receiver, and you do not want to buy it for a one-time use of the laser level Outdoors?
Consider other options and life hacks.
The second method. The reflection of the laser beam
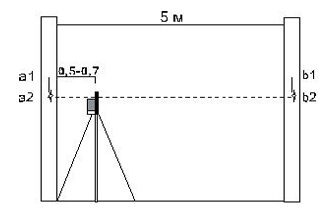
Use some object with a reflective surface. For example, a simple metal ruler is great.
If you turn it at a certain angle, you can clearly see red laser in daylight. By the way, the green laser would be even better visible.
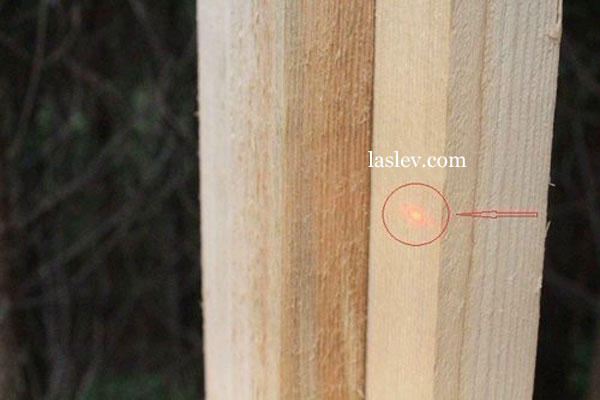
The third method. Marking with a laser dot
Suitable only for those who have a laser level with additional laser points on the vertical and horizontal lines.
Such points are most often found in cheap Chinese laser levels in the form of a “barrel”, costing up to $50. For example, consider the green laser level A.B Crew
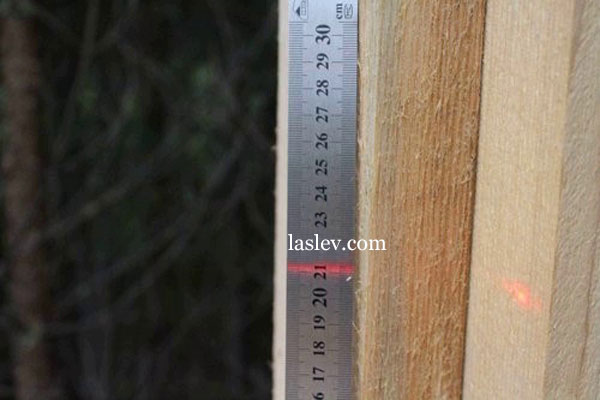
The fact is that the concentration of the beam at the point is much higher than in the line. Therefore, the laser point is clearly visible in daylight at a distance of 15 to 20 meters in one direction.
In the photo, the line is not visible, but you can see the point from the red laser. From a green laser, it would be even more visible and further away.
The fourth method of marking with a laser level Outdoors
Suitable for absolutely everyone, with any laser level. This is a markup in the dark. And the darker it is on the street, the further the laser line will be visible.
Therefore, if you decide to buy a laser level, I recommend that you immediately determine for yourself whether you will need to perform any work on the street in daylight.
If such work is planned, then of course the best solution is to buy a laser level with a receiver. Then the sunlight will not become a hindrance to work on the street.
The fifth method. Life hack with a mobile phone
This method works with absolutely every laser level, no matter if it has a mode of operation with the receiver or not!
Moreover, marking outdoors can be done at a much greater distance than with a receiver. It also doesn’t matter how much light there is outside, whether it’s just daylight in cloudy weather or sunlight with clear skies.
So, to make a marking in the outdoors, for example, at 100 meters, we will need a simple mobile phone with a front-facing camera.
To detect the laser line, turn on the front camera of the phone and start scanning the area where the line is supposed to pass.
When the laser beam accurately hits the front camera, a bright dot will be visible on the phone screen, which will fade away when the phone is slightly shifted up or down.
At the moment when the glow of the point on the screen is the brightest, we make a mark exactly opposite the center of the camera.
This way we get the markup with maximum accuracy. The principle of working with a phone is very similar to working with a receiver.
With constant use of this method, it is not known how the camera will behave on the phone, so it is better to use an old phone that is not a pity.
For a better understanding of the principle of laser level marking outdoors by this method, watch the video below.